How To: Entering Counts for a Parts Physical Inventory (RF-03)
Overview
This selection is used to enter counts for a selected branch using the RF scanner. If you have more than one person entering counts at a time, it is recommended that each one enter counts for a different branch (to prevent file access conflicts). Entered counts overwrite existing counts when the final Physical Inventory step, Actual Count Update (07-47-07), is run. If new items are entered and they do not have the branch parts record in place, one gets created during the enter count process.
Step-by-Step
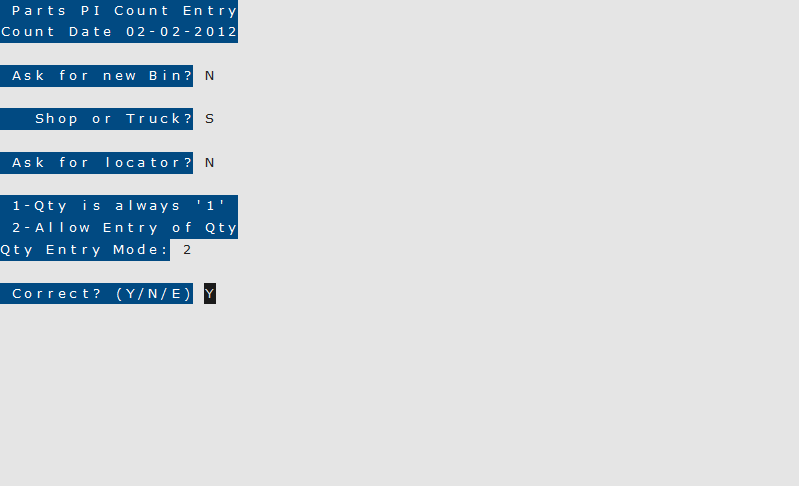
- In the ‘Ask for a new Bin?’ field:
- Enter “Y” to enter a count for a specific bin rather than for the entire branch or truck.
- Enter “N” to and the system will not ask for specific bins during the count.
- In the ‘Shop or Truck?’ field:
- Enter “S” if you are counting parts in your shop.
- Enter “T” if you are entering parts from a truck.
- In the ‘Ask for locator?’ field:
- Enter “Y” and the system will ask for a location when entering the counts.
- Enter “N” and the system will not ask for a locator number when entering the counts.
- In the ‘Qty Entry Mode’ field:
- Enter “1” to count each item scanned as one quantity.
- Enter “2” to allow entry of quantity each time an item is scanned.
- In the ‘Correct’ field:
- Enter “Y” and press enter to continue with the count if all of the information is correct.
- Enter “N” to make changes.
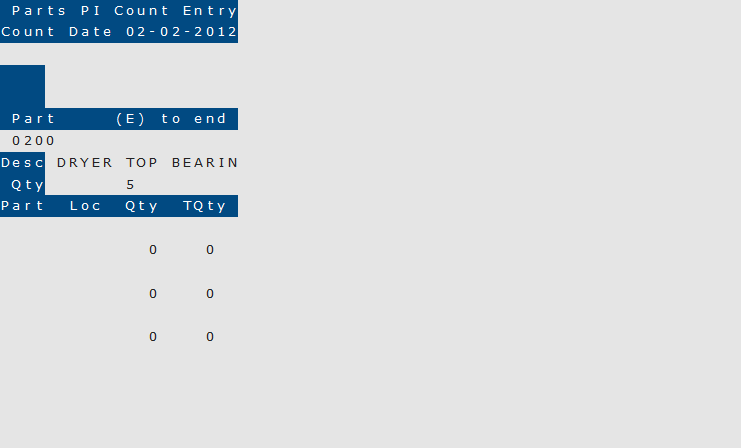
- In the ‘Part’ field, scan or enter the part number. Then press Return.
- The part’s description appears in the ‘Desc’ field and the cursor positions to the ‘Qty’ field.
- If option 2 was selected for the ‘Qty Entry Mode’ field in step 4, enter the quantity counted and hit Return, otherwise, scan the item once for each quantity counted.
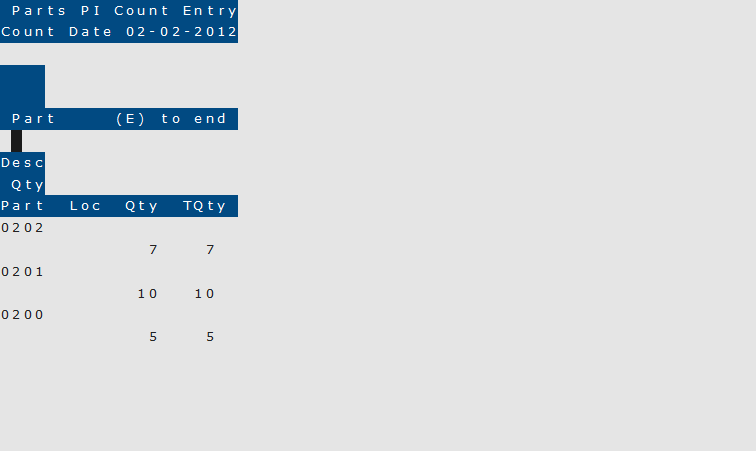
- Repeat Steps 6-8 until all parts have been counted. The latest counts will appear on the screen.


