How To: Adding a Schedule for a Date (21-20)
Overview
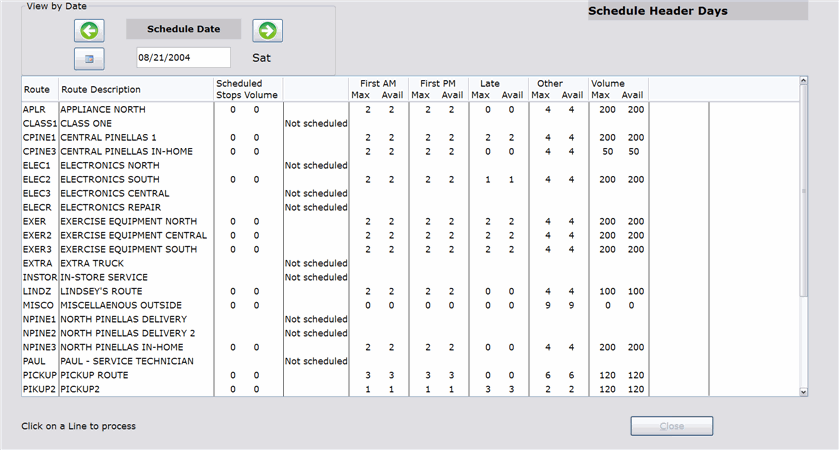
With the Schedule Header Days selection, you can add a route schedule for a day that is normally not scheduled. A route might not be scheduled for a particular day because it does not work/run on that day of the week (e.g. Sunday) or because it is for a future date that is after the last schedule that has been created by Start of Day. ‘Not scheduled’ appears in the field to the right of ‘Scheduled Stops’ column for all routes that are not scheduled on the selected date.
Video
Tip: Use the controls on the video player to watch in Full Screen mode, adjust the quality, or watch on YouTube.
Step-by-Step
- Specify a schedule date using the green arrow buttons, the calendar button, or by entering the date in the field at the top of the screen. Today’s date appears by default.
- Route information appears for the specified date. Select a route by clicking on it.
- Click on a ‘Not Scheduled’ Route line.
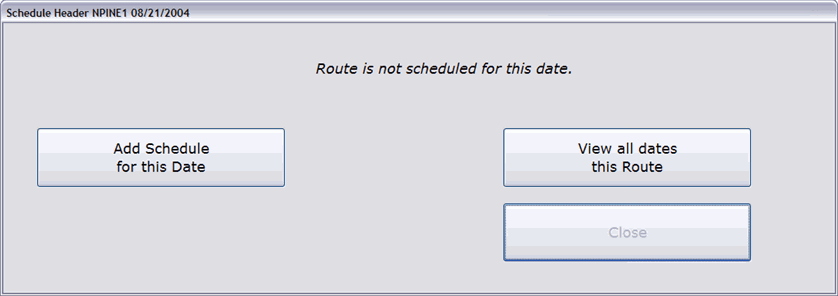
- A window opens with the message, ‘Route is not scheduled for this date,’ appearing at the top. Click the Add Schedule for this Date button.
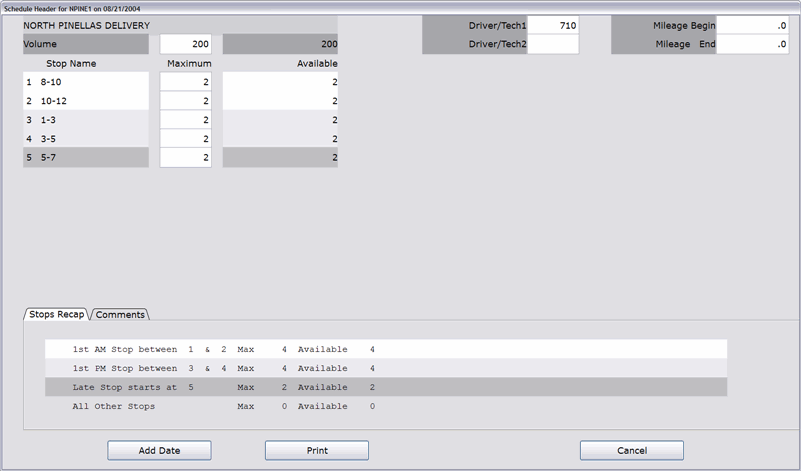
- Enter the Employee Number of the person adding the schedule.
- Make the necessary modifications (if any) to the information on the screen using the instructions in the ‘Changing a Stop’ tutorial (Steps 4-9). The comment, ‘Schedule Header Day Manually Added,’ will automatically be created by the system and added to this schedule.
- Click the Add Date button at the bottom of the screen to create a schedule for this date. The Change Stops screen closes.
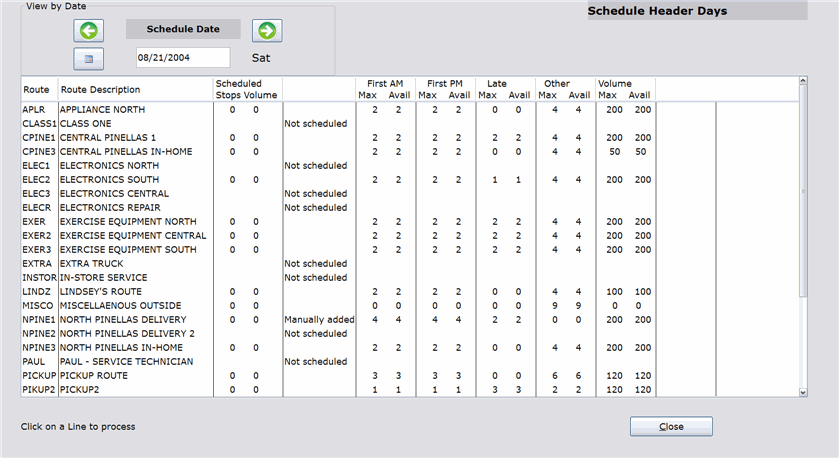
- ‘Manually added’ appears in the column to the right of the ‘Scheduled Stops’ column on the main screen.


