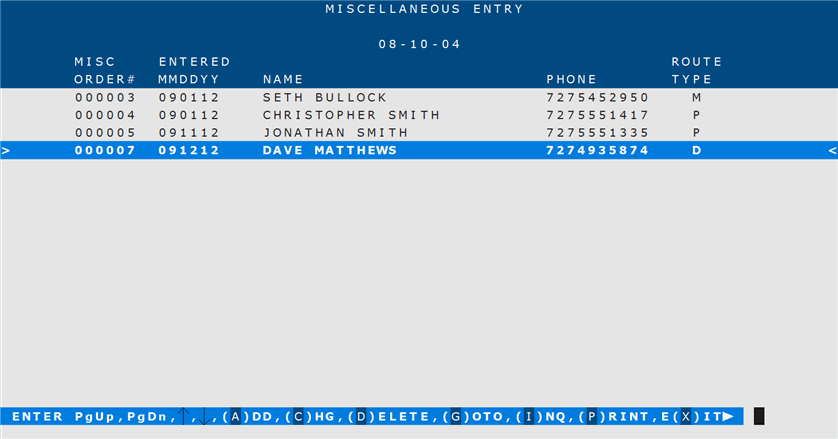
How To: Creating a Miscellaneous Entry (21-22)
Overview
This tutorial describes how to create a miscellaneous entry.
Step-by-Step
- Enter “A” at the main prompt.
- Enter the Employee Number of the person entering the miscellaneous stop.
- In the ‘Stop’ or ‘Minutes’ field, enter the time (stops, minutes) that this miscellaneous stop required.
- If applicable, enter the volume/cubits required for this entry in the ‘Volume’ or ‘Cubits’ field.
- If applicable, enter “FA,” “FP,” or “L” in the ‘FA/FP/L’ field if this entry requires a First AM, First PM, or Late stop, respectively.
- In the ‘Branch’ field, enter the branch for this delivery.
- Enter the route type in the ‘Route Type’ field. (P, I, C, B, D or M). If you enter “M” for a Miscellaneous Route, the system will prompt you to specify whether it is a Miscellaneous Inside route or a Miscellaneous Outside route.
- In the ‘Desired Date’ field, enter the date for this entry.
- If you are using Call First, enter “Y” in the ‘Call First’ field. The Routing Manifest (21-03) will alert the driver to call the customer before delivery.
NOTE: If you are not using Call First (preference is not checked), this field does not appear on the screen.
- If you are using promise dates and have determined one for this entry, enter it in the ‘Promised Date’ field.
NOTE: If you are not using Promise Date (preference is not checked), this field does not appear on the screen.
- If this entry is for a customer, enter the customer number in the ‘Ship To Cust#’ field. The corresponding customer information appears in the fields below.
If this entry is not for a customer, you can leave the ‘Ship To Cust#’ field blank and manually enter the name and/or address for the entry instead.
- A menu appears at the bottom the screen:
- Enter “C” to make changes to the information just entered.
- Enter “T” to add comments to this miscellaneous entry.
- Enter “S” to access the Scheduler and assign this entry to a route. Follow the instructions in the ‘Using the Advanced Scheduler’ tutorial.

