How To: Using Zone Master Maint (21-90-40)
Overview
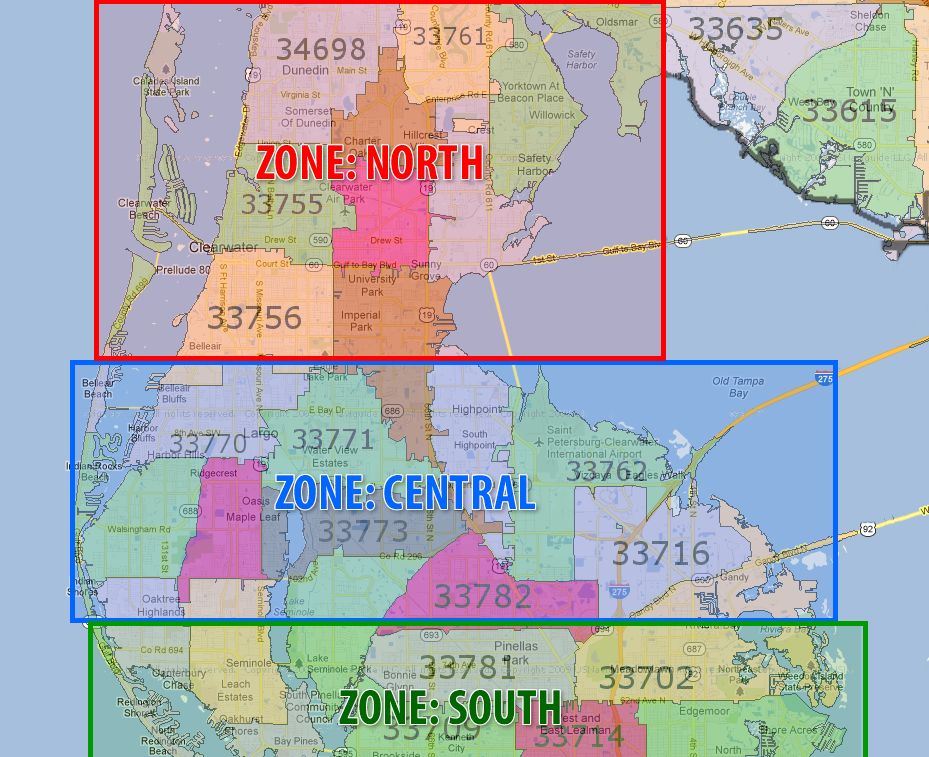
Zones are geographical areas defined by zip codes or a range of zip codes that help you efficiently schedule outside deliveries and in home service for your company.
When suggesting routes for an order, the Scheduler looks at the zip code on the order and then attempts to find a zone that the zip code is assigned to (in Zipcode to Zone Link (21-90-41)). If the zip code is assigned to a zone, the Scheduler will first suggest routes assigned to that zone, followed by routes that are not assigned to any zone. Routes that are assigned to other zones are not suggested by the system.
Special Notes
- If your company only uses Centralized Delivery for in store service or classroom instruction, you will not want use zones.
- If you have only one route/truck used for deliveries, you may or may not want to use zones, depending on your route(s). If your only truck delivers to the north two days a week and to the south two days a week, you could create two routes and assign one to the north zone and the other to the south zone.
Table of Contents
Adding a Zone
- Enter “A” at the main prompt.
- In the ‘Zone’ field, enter a name for the zone (up to nine characters). The Zone Name appears in the ‘Customer Info’ box on the Scheduler, so you should name it something that is easily recognized.
- In the ‘Description’ field, enter a description for this zone.
- Repeat steps 2-3 until all zones have been added.
Changing the Description of a Zone
- Highlight the zone that you want to change.
- Enter “C”at the main prompt.
- Make any necessary changes to the zone description.
Deleting a Zone
- Highlight the zone that you want to delete.
- Enter “D” at the main prompt.
- Enter “Y” at the ‘DELETE xxxxxxxxx?’ prompt.
- A confirmation message appears. Press Tab.

