How To: Printing Labels for Individual Items (03-33-07)
Overview
This tutorial describes how to print barcode labels for individual items.
Step-by-Step
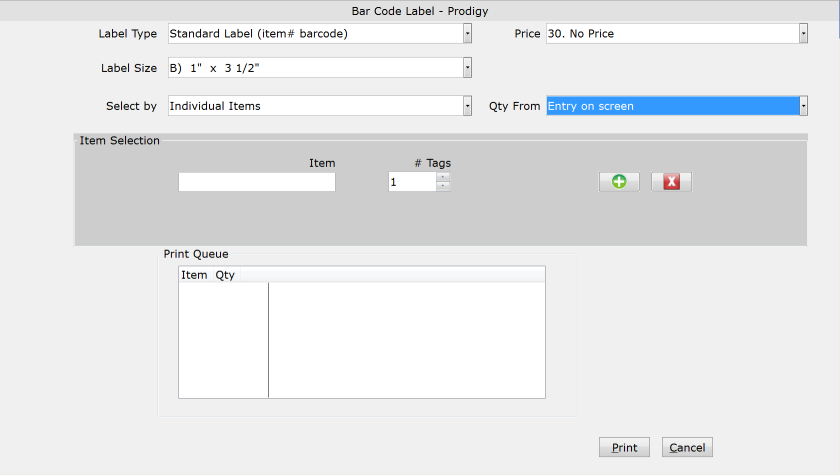
- From the Label Type drop-down menu, select a label type. You can choose a standard or expanded label; the standard label prints only the barcode while the expanded labels contain price and description information, as well as the barcode.
- If you are printing expanded labels, select a price field from Inventory Inq/Maint to include on the labels. If you are printing standard labels, skip to Step 3.
- In the Label Size field, designate the label size. Your choices are 1×2 inch or 1×3.5 inch.
REMEMBER: When using 1×2 inch labels, the item number cannot be longer than 10 characters. If it is, the barcode will not be readable by an RF gun.
- In the Select By field, choose “Individual Items.”
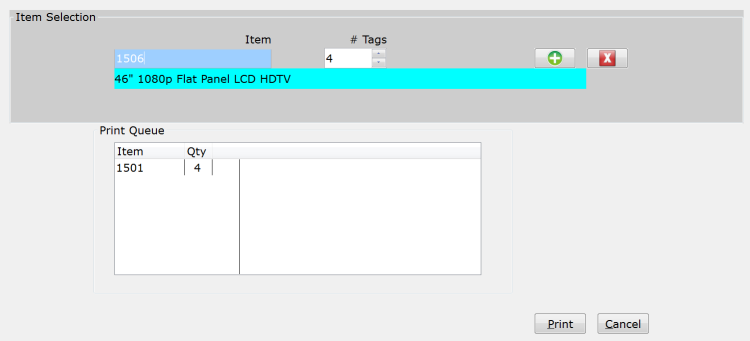
- In the Item field, enter an item number for the label.
- Enter the number of labels that you want to print for the item in the # Tags field.
- Click the arrows to increase or decrease the entered amount.
- Click the green ‘+’ button to add item to the Print Queue.
- To remove an item from the Print Queue, select the item in the queue that you want to delete, and click the red ‘x’ button.
- Repeat steps 5-7 until all items are added to the Print Queue.
- Click Print.

