How To: Shipping a Transfer (RF-02-03)
Overview
This tutorial describes how to a ship a transfer with an RF scanner.
Step-by-Step
- Enter your Employee ID.
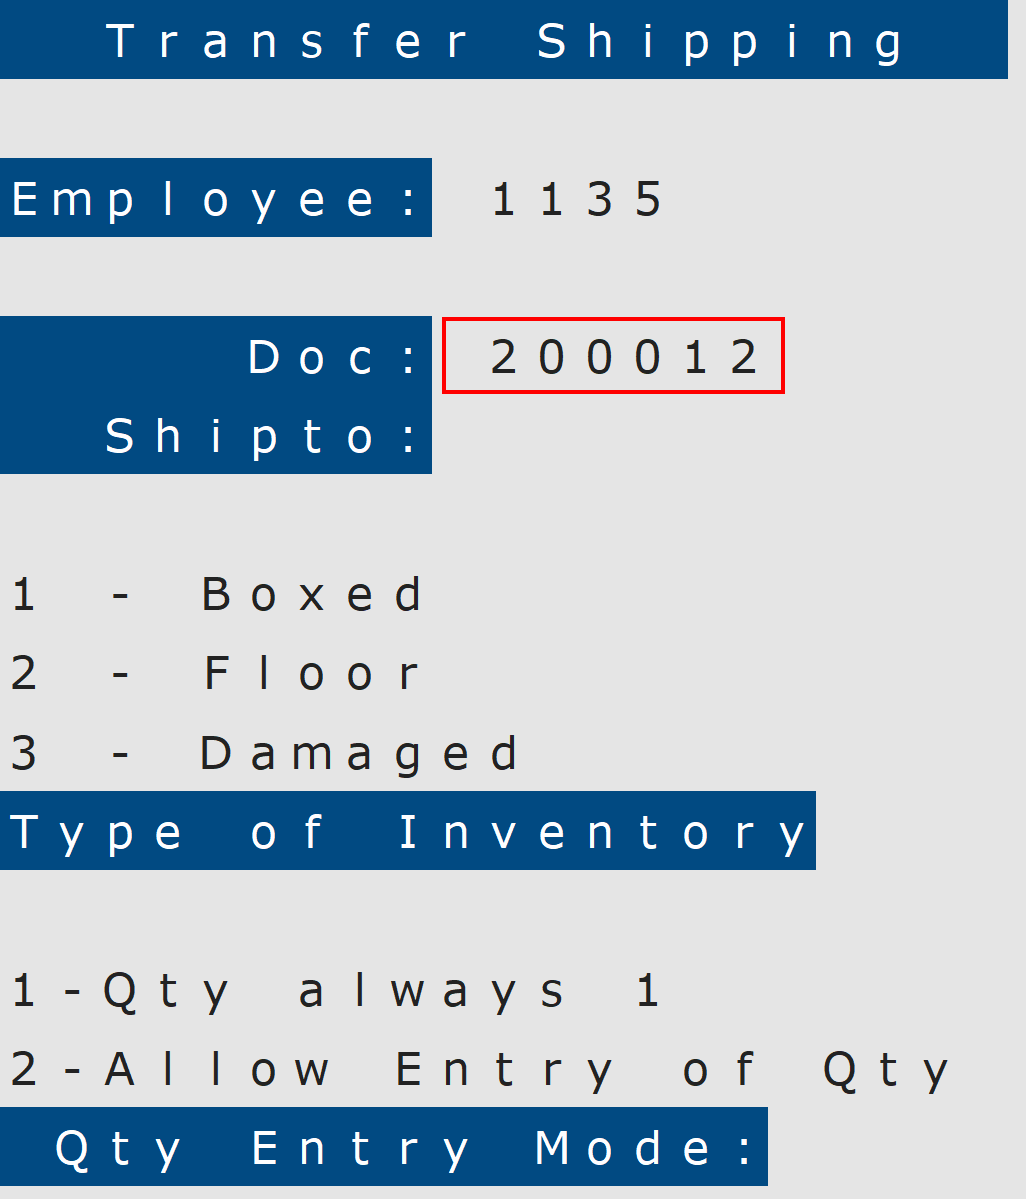
- Scan the Document Number from the Picking Sheet of the transfer you are shipping or enter it manually from the RF scanner keypad.
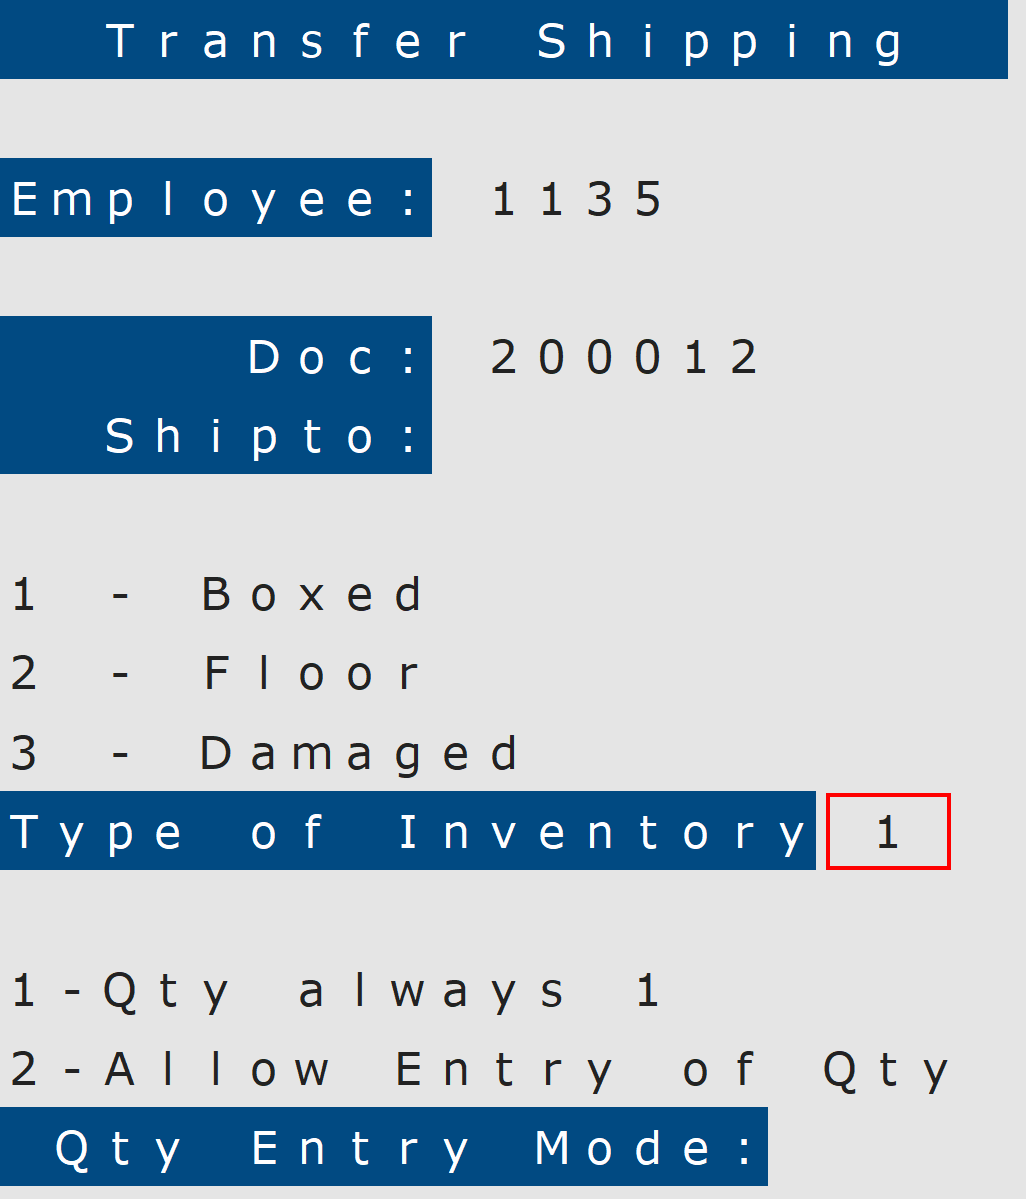
- Select the Type of Inventory that will be shipped:
- Enter ‘1’ for Boxed items.
- Enter ‘2’ for Floor Model items.
- Enter ‘3’ for Damaged items.
NOTE: If multiple inventory types are being transferred, each type must be entered separately.
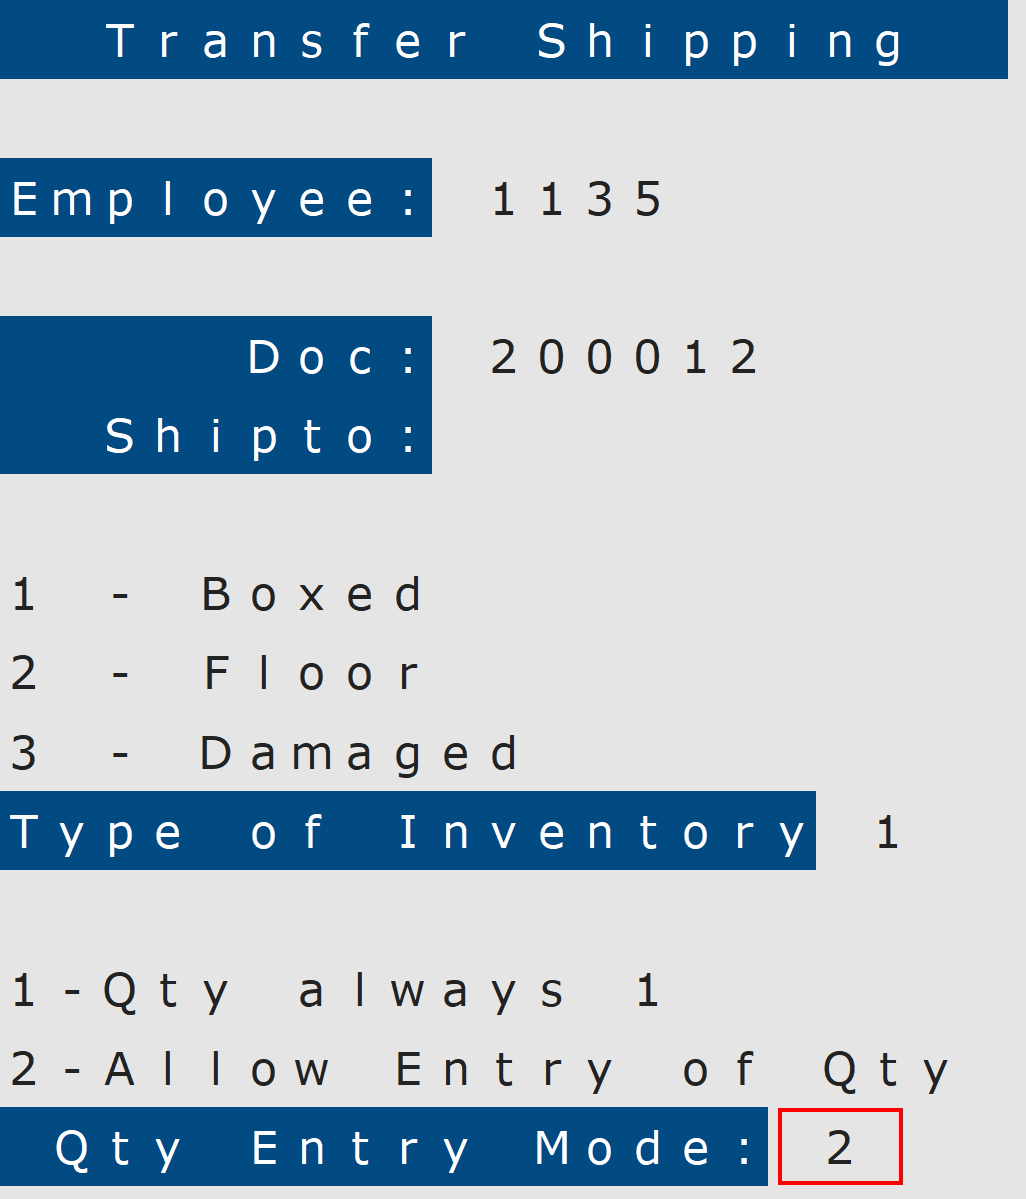
- Select the Quantity Entry Mode:
- Enter “1” if you want to scan each item to record the quantity (e.g. If you have three items, you will scan each of the three items separately or scan the same item three times).
- Enter “2” if you want to scan an item once and then type the quantity that you wish to record.
- Press Enter on the scanner keypad to begin scanning items to be shipped on the transfer.
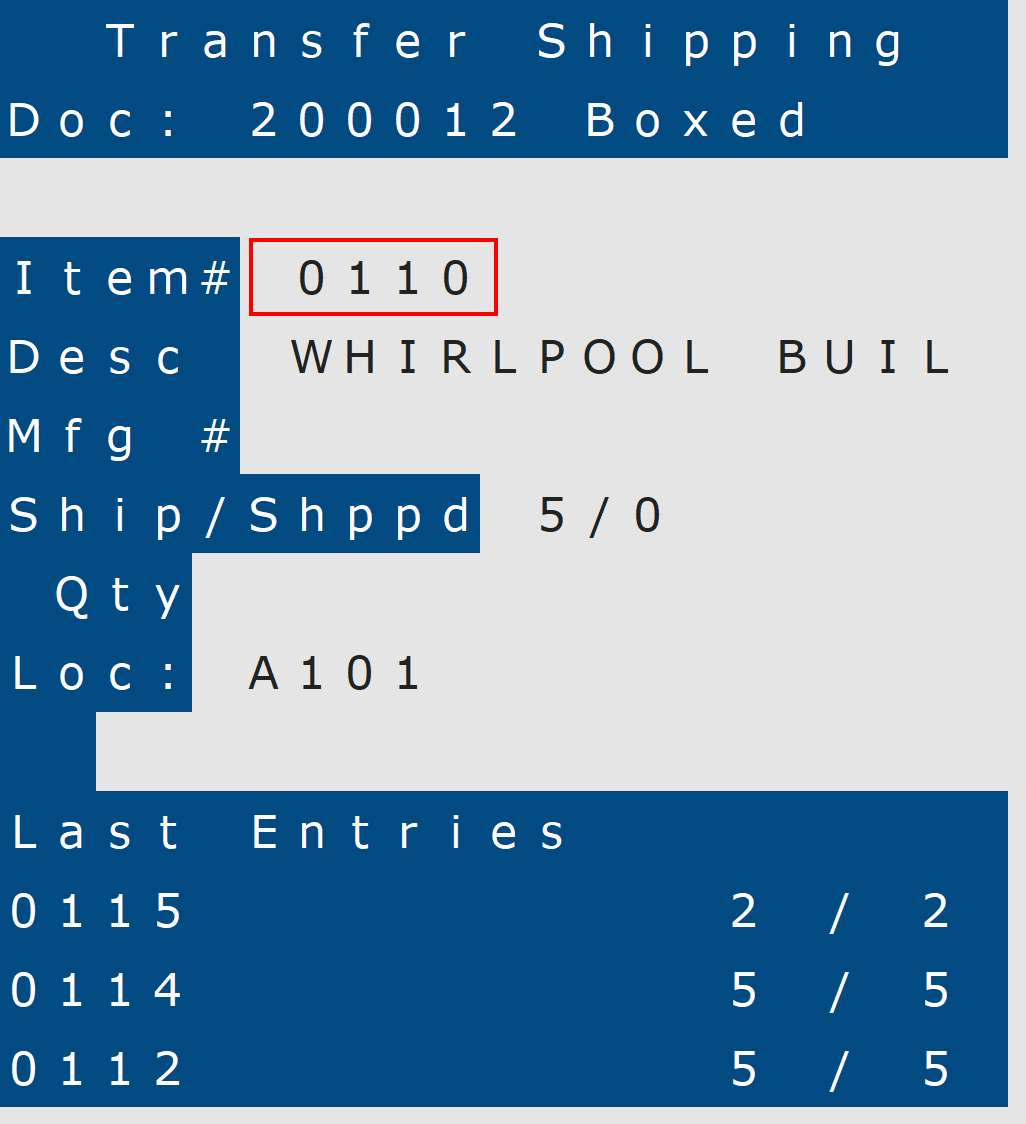
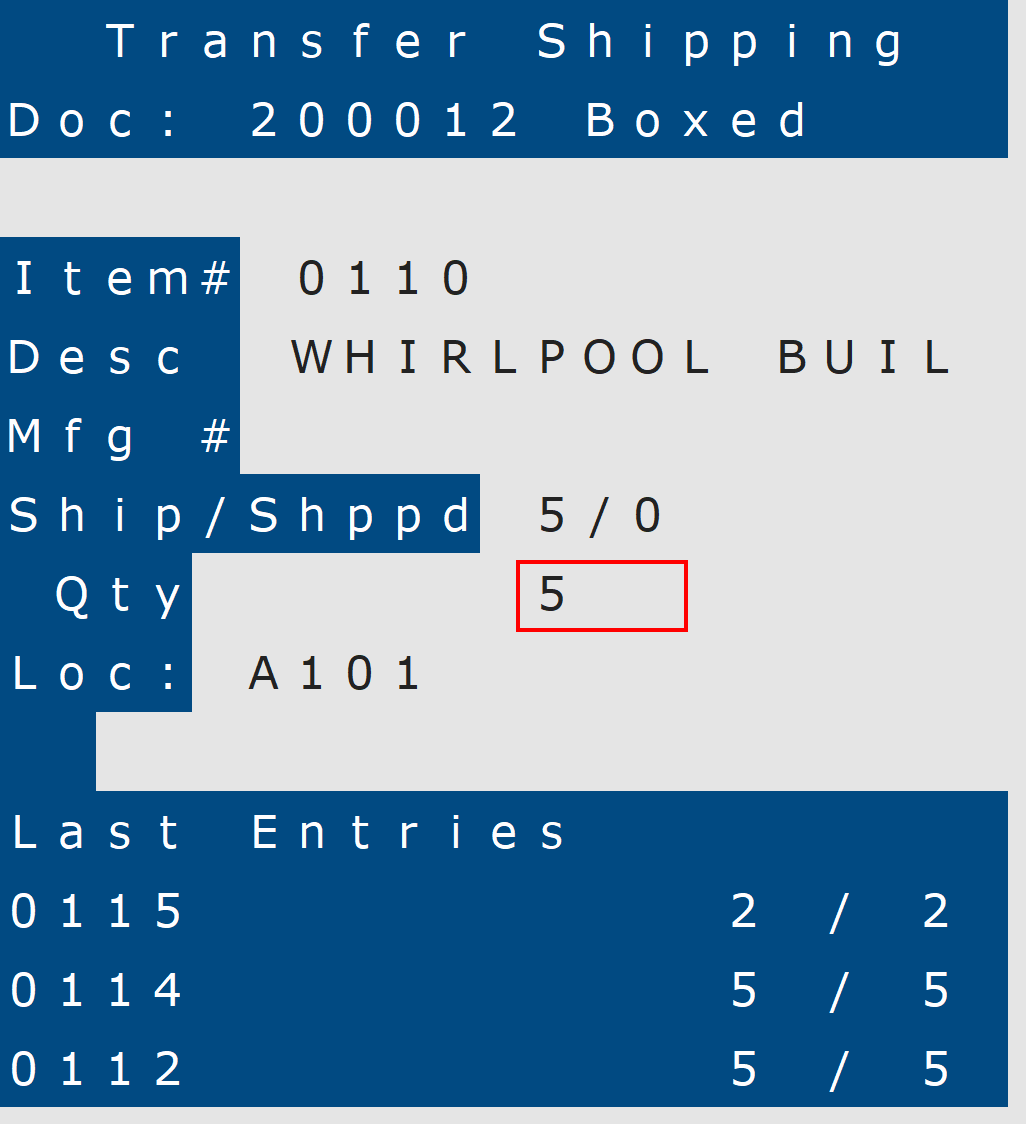
- Scan an item for the transfer or enter it manually on the RF scanner keypad.
The Ship/Shipped field displays the number of items marked for transfer vs. the quantity that still needs to be shipped.
- Enter the quantity to be shipped.
NOTE: If transferring from a Locator Branch, enter or scan the location (locator number) of the item.
- Press Enter on the scanner keypad to complete shipping for the item.
The last three scanned items appear at the bottom of the page.
- Repeat steps 6-8 until you are finished scanning all items for the transfer.
- Press Enter on the scanner keypad to complete shipping for the item.

