How To: Receiving a Transfer (RF-02-04)
Overview
This selection is used to receive a transfer using an RF scanner.
NOTE: If you receive the message ‘Audit is Finished’ and cannot access this selection, run the Receiving Confirmation selection (03-11-13) in the main system. Answer “Y” at the prompt: ‘The Audit is finished. The update can proceed. Cancel Audit and Continue with Confirmation?’ Then clear the ‘Enter Confirmation Date’ field, exit the selection, and re-run this selection (RF Receiving).
Step-by-Step
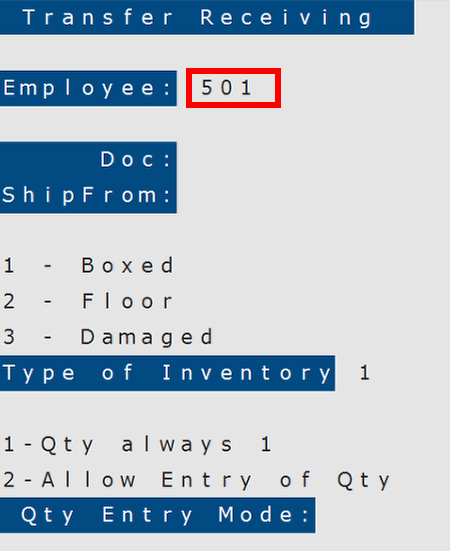
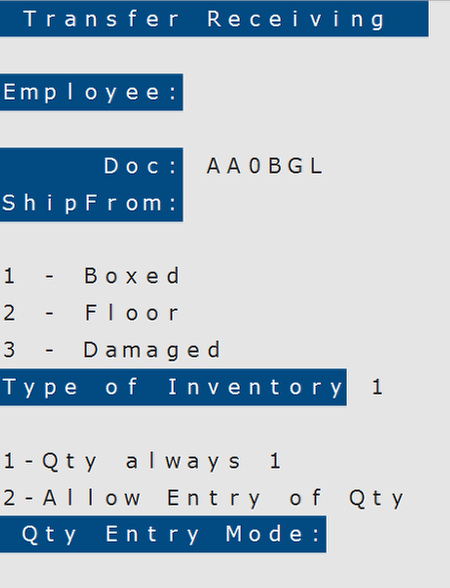
- Enter your Employee ID on the scanner’s keypad and press Enter.
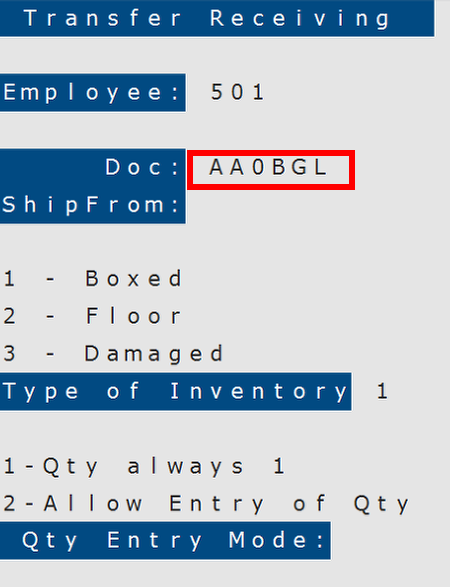
- Enter the document number of the transfer being received.
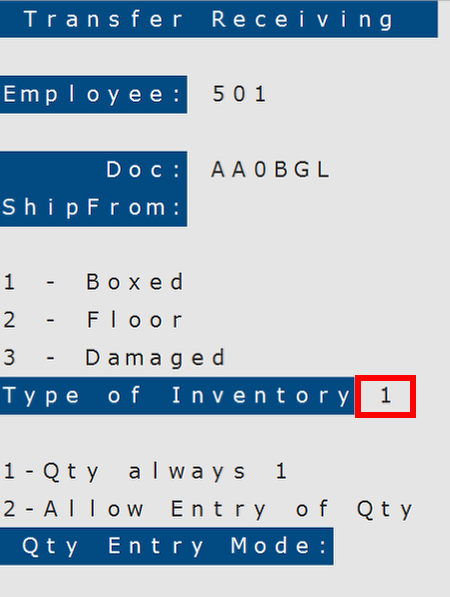
- Choose the type of merchandise being received on the transfer document from the three options listed above the ‘Type of Inventory’ field:
- ‘1’ for boxed (standard) merchandise
- ‘2’ for floor models
- ‘3’ for damaged items
NOTE: The ‘Type of Inventory’ assignments occur when a transfer is created in Transfer Entry (03-11-01). Please see the full Transfers documentation for further information on these assignments.
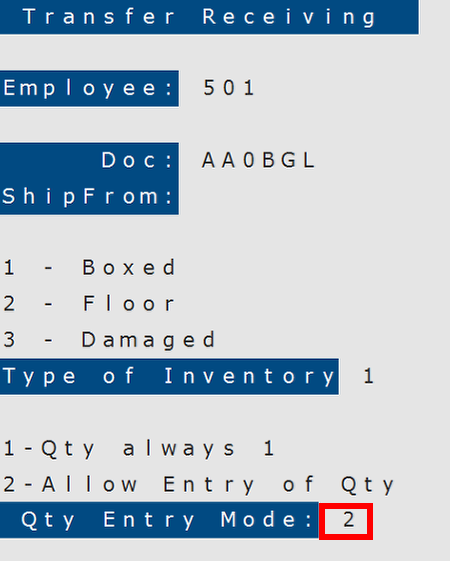
- Specify the Quantity Entry Mode for transfer receiving:
- Enter “1” if you want to scan each item to record the quantity (e.g. If you have three items, you will scan each of the three items separately or scan the same item three times).
- Enter “2” if you want to scan an item once and then type the quantity that you wish to record.
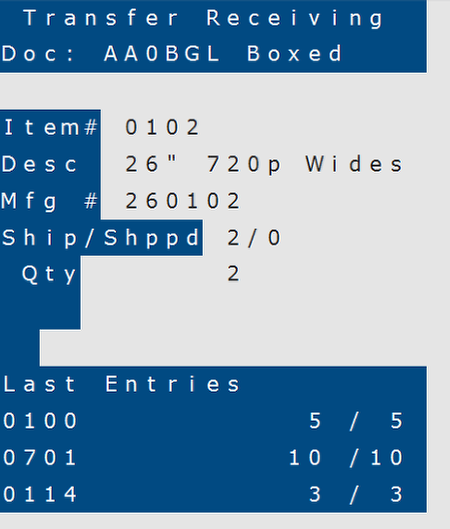
- The main Transfer Receiving screen appears. Using the Packing Sheets as a guide, scan the items on the transfer. Each scanned item is recorded as received and both the ‘Ship/Shppd’ field and ‘Last Entries’ section of the page are updated as you go.
- When you have received all the required items on a transfer, press the Enter key on the RF scanner (with no entry in the Item# field) to return to the first screen of the Transfer Receiving selection.
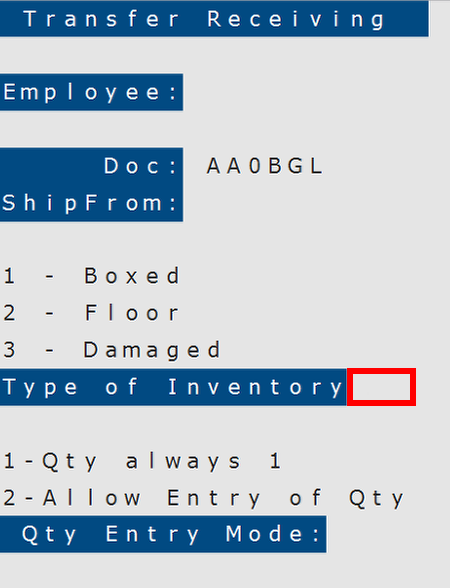
- Clear the ‘Type of Inventory’ field on the first screen and press Enter to exit.
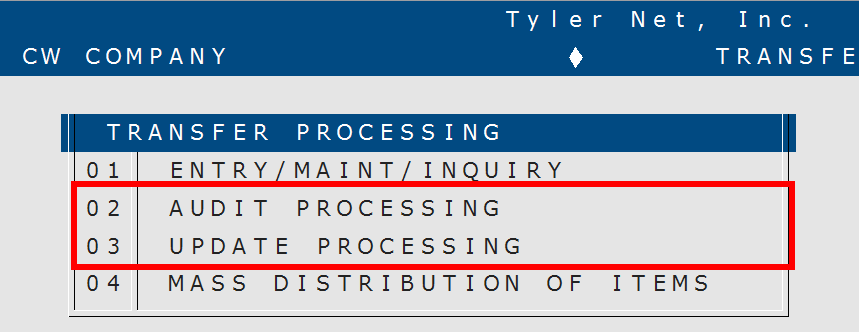
- Run the Transfers Audit Processing and Update Processing selections to complete the transfer process.
