How To: Selling a ‘PKS’ Package
Overview
In Tyler, the term ‘package’ refers to a number of items grouped together and sold at a collective price. There are a couple of ways to create packages: you can set them up in Package Inventory (03-06) or you can create packages on the fly in POS Entry.
A ‘PKS’ or ‘xx+’package (where ‘xx’ is any two characters) is set up in Package Inventory. Unlike a ‘PKG’ package where the price of each item is accepted or modified during POS Entry, a ‘PKS’ package has one price for the entire package. During POS Entry, you can change the price of the package, but not the prices on any of the detail lines.
For more information on setting up ‘PKG’ and ‘PKS’ (or ‘xx+’) packages, please see the Package Inventory section of the Inventory documentation.
Video
Step-by-Step
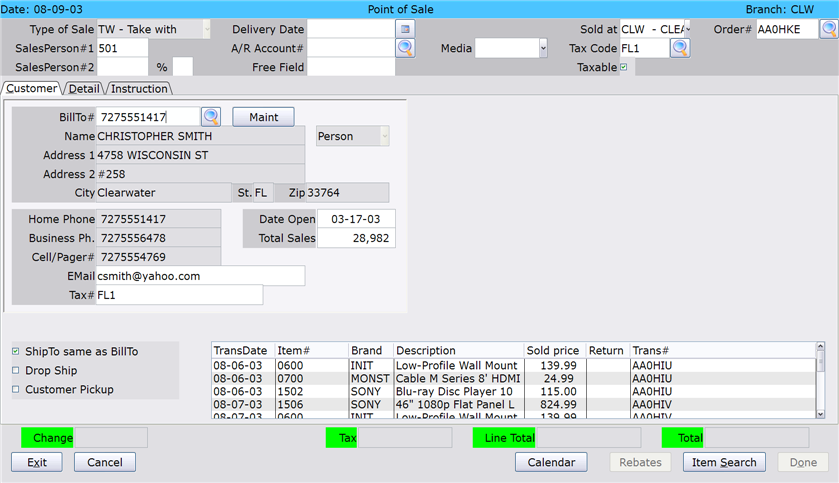
- Enter the Header and Customer Information for the transaction using the standard TW or DD entry procedures.
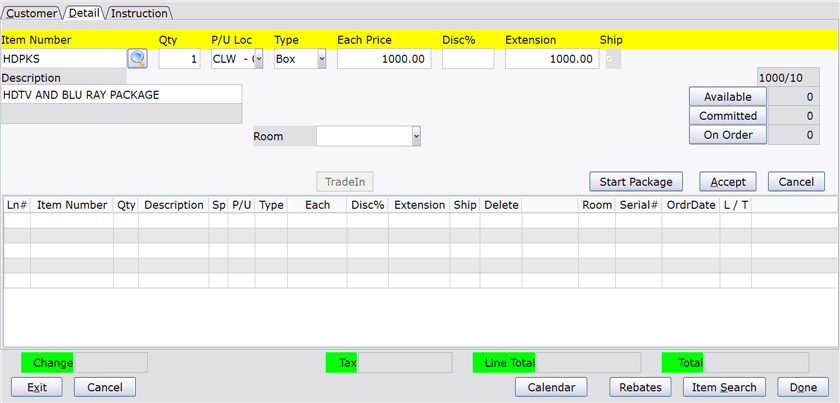
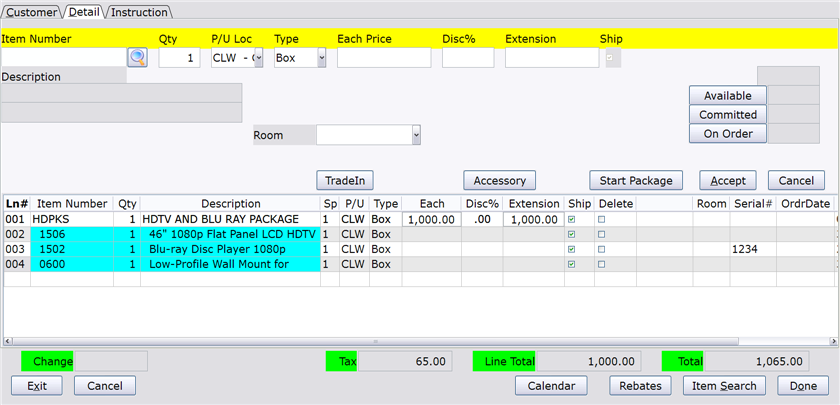
- On the Detail tab, enter the ‘PKS’ (or ‘xx+’) package item in the Item Number field.
- If you don’t know the package item number, click the Search button.
- In the Quantity field, specify the number of packages you are selling.
- Press Tab to move through the P/U Loc and Type fields. You can modify this information if necessary.
- In the Each Price field, accept or modify the price of the package.
- Click Accept.
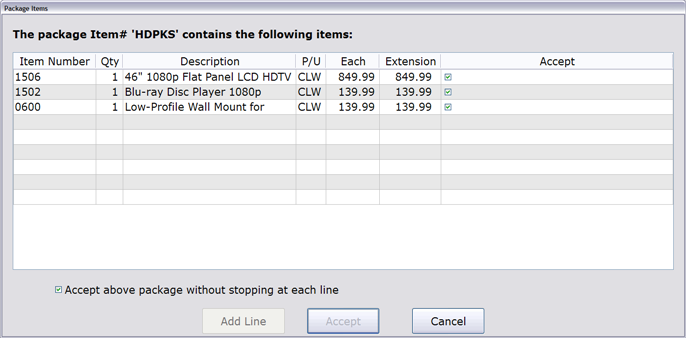
- The Package Items window appears. Here you will see all items in the package, along with the corresponding Quantity, Description, Pickup Location and Prices.
The Accept box to the right of each item is checked by default. If an item should not be included in the package, uncheck this box.
- The ‘Accept above package without stopping at each line’ box appears at the bottom of the window and is checked by default. This option makes package entry more efficient because the system will not stop to ask for confirmation of each item in the package. However, if there are Serial or Locator numbers that need to be entered for any of the items, the system will still stop for that purpose.
- Click Accept.
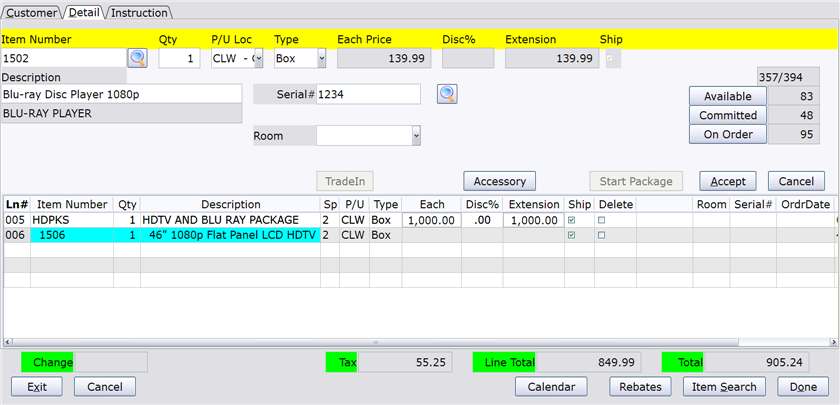
- The Package Items window closes. If there are any Serial or Locator numbers that need to be entered, the system will require you to do that now.
- The package now appears at the bottom of the screen. Add any remaining items to the ticket.
- Click the Done button.
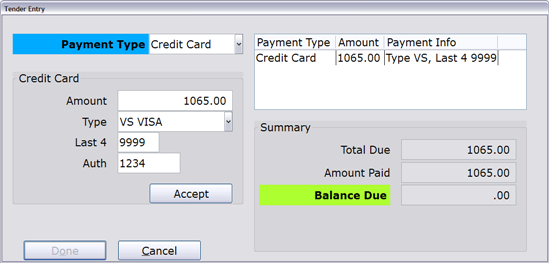
- The Tender Entry window opens. Complete the transaction using the standard TW or DD transaction procedures.
