How To: Confirming a Partial Transfer (03-11-13)
Overview
This tutorial describes how to confirm receiving of a partial transfer.
Step-by-Step
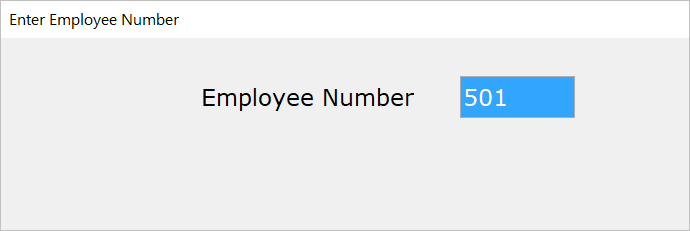
- In the ‘Employee Number’ field, enter your employee number.
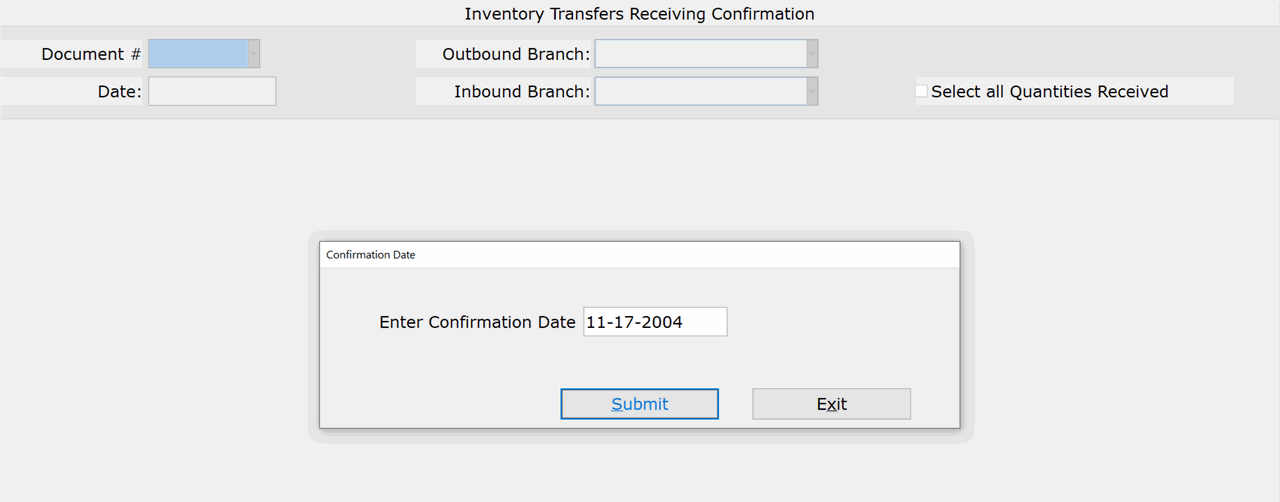
- In the ‘Enter Confirmation Date’ field, accept or modify the date on which you are confirming the transfer items. The current Start of Day date appears by default.
NOTE: If you are using a POS terminal, this prompt does not appear. Skip to Step 4 of this tutorial.NOTE: You cannot enter a date after the current Start of Day date.
- Click ‘Submit.’
- In the ‘Document #’ field, enter the transfer document number being confirmed or select it from the drop-down list. The most current transfers appear at the bottom of the list.
- Click ‘No’ at the ‘Do you want to Receive the entire document?’ prompt. The items on the transfer appear.
- In the ‘Recv Qty’ field for each item, enter the quantity being received (transferred). Leave the field blank if no quantity is being received.
- Check the ‘Select all Quantities Received’ box to fill the ‘Recv Qty’ field for each item with the amount in the ‘Ship Qty’ field.
NOTE: If the item is a package item number, enter the received quantity for the entire package. You cannot modify the quantities for sub-items in the package.
- Click the ‘Receive Selected’ button.
- Click the ‘Delete Entry’ button to cancel confirmation of this transfer document. The transfer closes and the cursor moves to the ‘Document #’ field.
- The message, ‘The receiving confirmation has been completed for this document,’ appears.


