How To: Confirming an Entire Transfer (03-11-11)
Overview
This tutorial describes how to confirm shipping for an entire transfer.
Step-by-Step
NOTE: If you are using a POS terminal, you can only confirm shipping for transfers with an Outbound Branch (From Branch) that matches the branch assigned to the terminal in System File Management (30-01).
- In the ‘Employee Number’ field, enter your employee number.
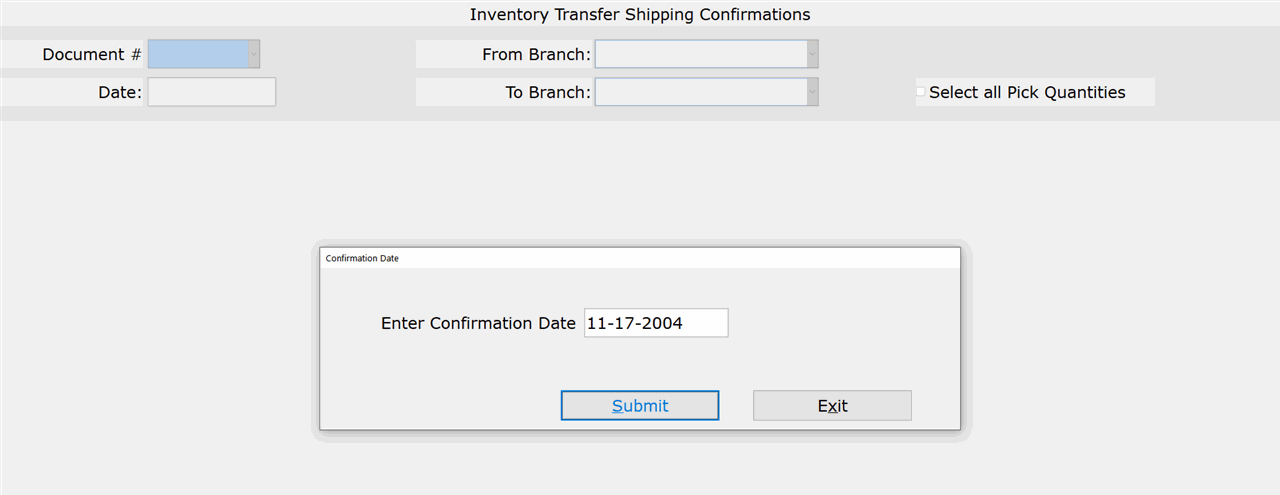
- In the ‘Enter Confirmation Date’ field, accept or modify the date on which you are confirming the transfer items. The current Start of Day date appears by default.
NOTE: If you are using a POS terminal, this prompt does not appear. Skip to Step 4 of this tutorial.NOTE: You cannot enter a date after the current Start of Day date.
- Click ‘Submit.’
- In the ‘Document #’ field, enter the transfer document number being confirmed or select it from the drop-down list. The most current transfers appear at the bottom of the list.
NOTE: If the Picking Sheets have not been printed for the selected transfer or the transfer has been modified since the last time the Picking Sheets were printed, the above warning message appears. Printing Picking Sheets is optional, but if want to print them before confirming the transfer, exit the selection. To continue without printing the Picking Sheets, click ‘Ok.’
- Click ‘Yes’ at the ‘Are you shipping the entire document?’ prompt.
- If there are B-Flag Serial Number item(s) and/or Locator Item(s) on this transfer, the system will ask you to confirm/enter them now. Please see the ‘Entering Serial Number Information’ and ‘Entering Locator Information’ tutorials for more information.
- When all required information is entered, the message, ‘Shipping Confirmation Completed,’ appears. Repeat Steps 4-6 to confirm shipping for additional transfers or click ‘Exit’ to leave the selection.


