How To: Confirming an Entire Transfer (03-11-13)
Overview
This tutorial describes how to confirm receiving of an entire transfer.
Step-by-Step
NOTE: If you are using a POS terminal, you can only confirm receiving for transfers with an Inbound Branch (To Branch) that matches the branch assigned to the terminal in System File Management (30-01).
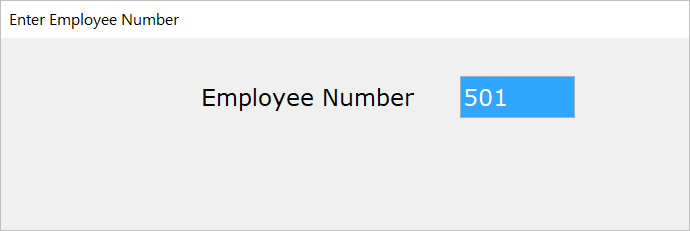
- In the ‘Employee Number’ field, enter your employee number.
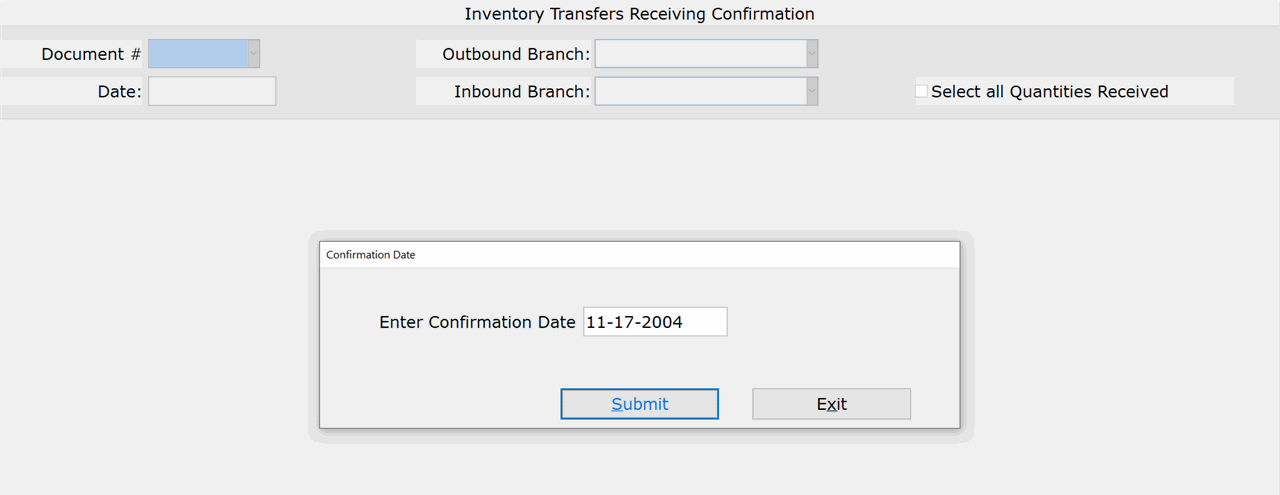
- In the ‘Enter Confirmation Date’ field, accept or modify the date on which you are confirming the transfer items. The current Start of Day date appears by default.
NOTE: If you are using a POS terminal, this prompt does not appear. Skip to Step 4 of this tutorial.NOTE: You cannot enter a date after the current Start of Day date.
- Click ‘Submit.’
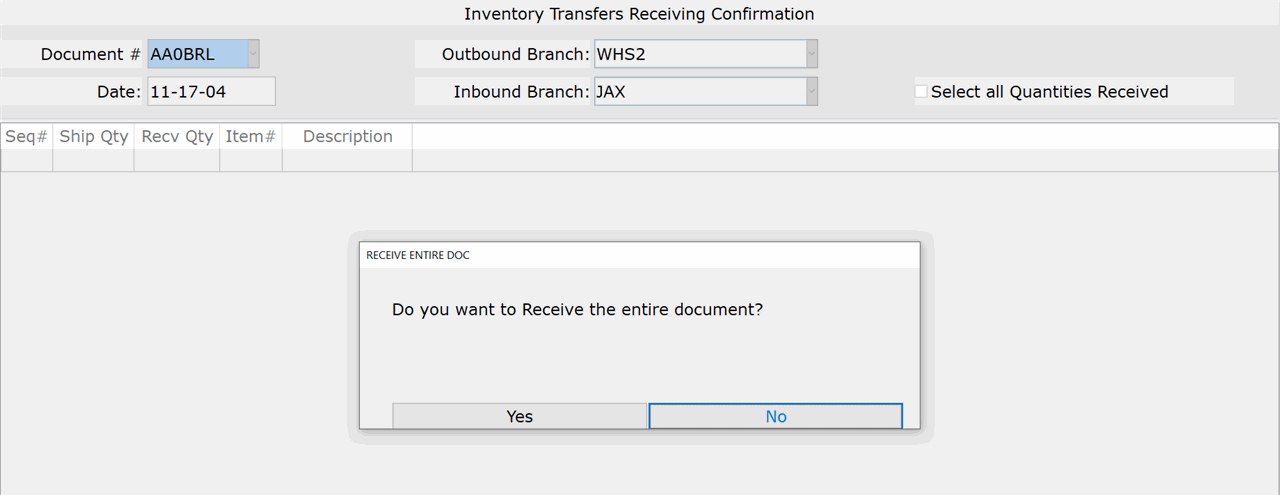
- In the ‘Document #’ field, enter the transfer document number being confirmed or select it from the drop-down list. The most current transfers appear at the bottom of the list.
- Click ‘Yes’ at the ‘Do you want to Receive the entire document?’ prompt.
- The message, ‘The receiving confirmation has been completed for this document,’ appears. Repeat Steps 4-6 to confirm receiving for additional transfers or click ‘Exit’ to leave the selection.


