How To: Deleting an Existing Transfer (03-11-01)
Overview
This tutorial describes how to delete an existing transfer.
The following are the conditions for deleting an existing transfer:
- If the ‘Activate Request for Transfer’ preference is set to ‘Y’ in Transfers Preferences (03-11-90), you can make changes to a transfer until Shipping Confirmation (03-11-11) is run.
- If the ‘Activate Request for Transfer’ preferences is set to ‘N’ in Transfers Preferences (03-11-90), you can make changes to a transfer until it is updated through Update Processing (03-11-03).
- If only part of a transfer is shipped, you can make changes to the unshipped lines after the shipped portion of the transfer is updated through Update Processing (03-11-03).
Step-by-Step
- In the ‘Document #’ field, enter the transfer that you want to view or select it from the drop-down list. The transfer information displays.
- Only transfers that have not been updated through Update Processing appear in this list.
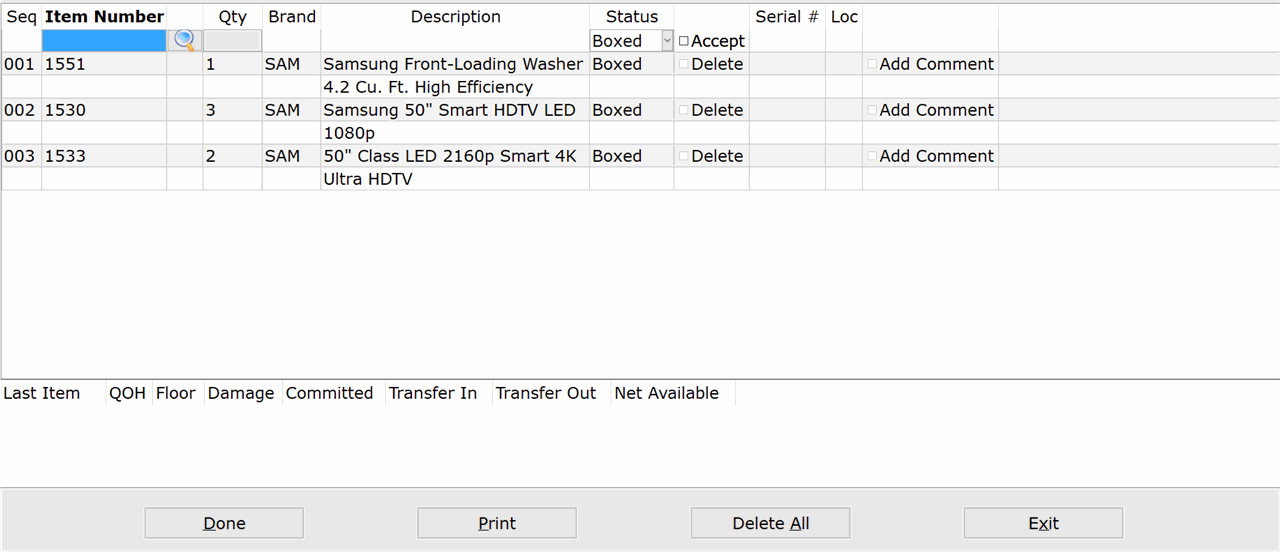
- Click the ‘Delete All’ button.
NOTE: If the transfer cannot be deleted, a message, ‘This document cannot be edited because….’ will appear after entering/selecting the document number. You will be able to view the transfer, but not delete it.
- Click ‘Yes’ at the ‘This will delete the entire Document # including all entries within. Are you sure?’ prompt.

