How To: Unconfirming a Transfer (03-11-11)
Overview
When all or part of a transfer has been confirmed through this selection and receiving has not been confirmed through Receiving Confirmation (03-11-13), you can use the Unconfirm option to reverse the process. This allows you to make changes to the quantities being shipped or to leave it unconfirmed until a future time.
Step-by-Step
- In the ‘Employee Number’ field, enter your employee number.
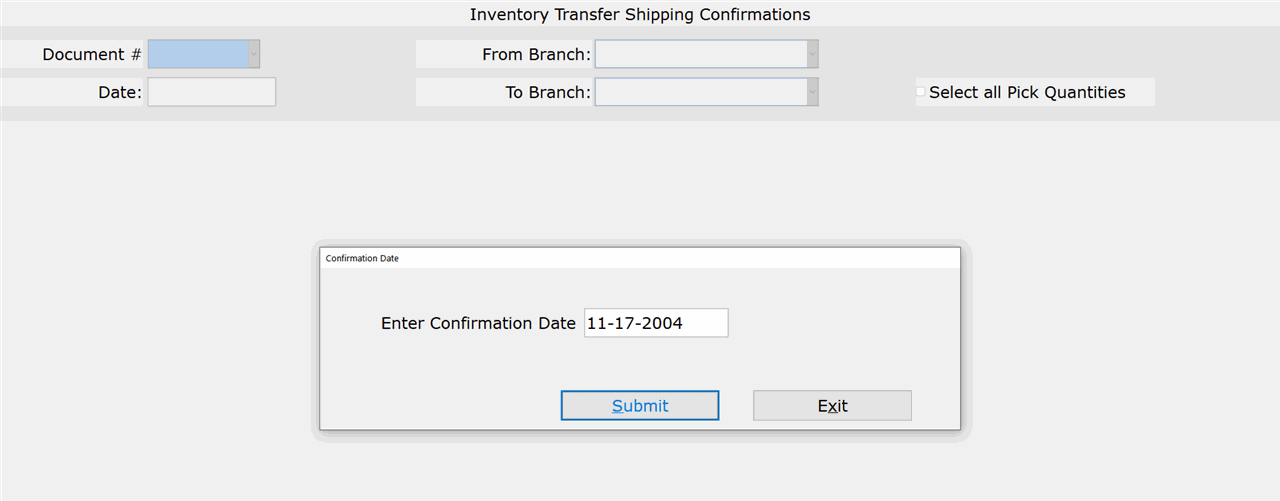
- In the ‘Enter Confirmation Date’ field, accept or modify the date on which you are confirming the transfer items. The current Start of Day date appears by default.
NOTE: If you are using a POS terminal, this prompt does not appear. Skip to Step 4 of this tutorial.NOTE: You cannot enter a date after the current Start of Day date.
- Click ‘Submit.’
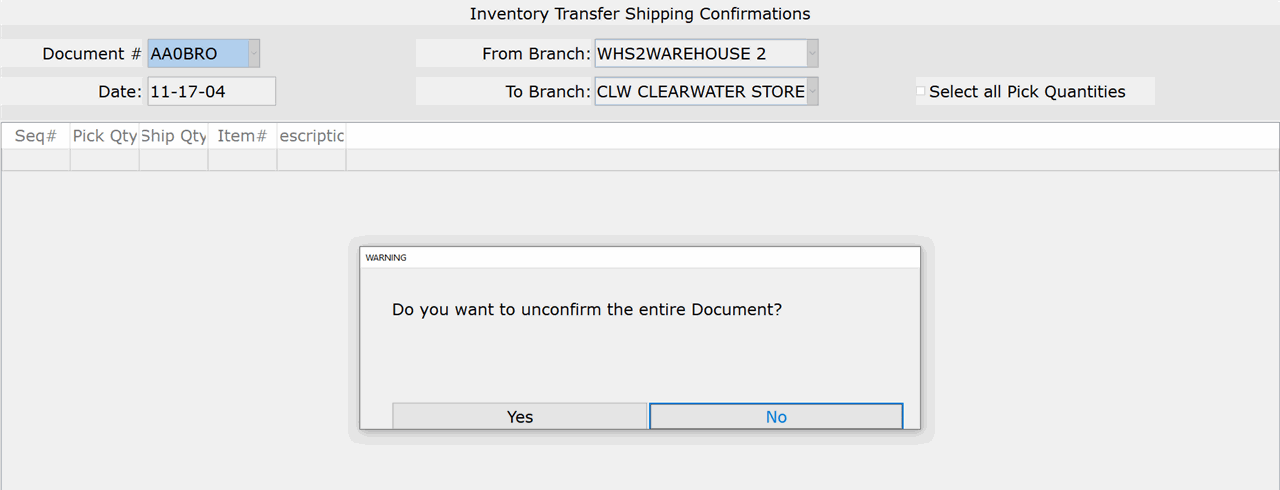
- In the ‘Document #’ field, enter the document number of a transfer that has been confirmed (in full or in part) or select it from the drop-down list.
REMEMBER: Once a transfer is confirmed through Receiving Confirmation (03-11-13), you can no longer unconfirm it. If you access an order that for which Receiving Confirmation has been run, ‘Document Locked’ will appear in the upper-right corner of the screen.
- The message, ‘Do you want to unconfirm the entire Document’, appears. Click ‘Yes.’
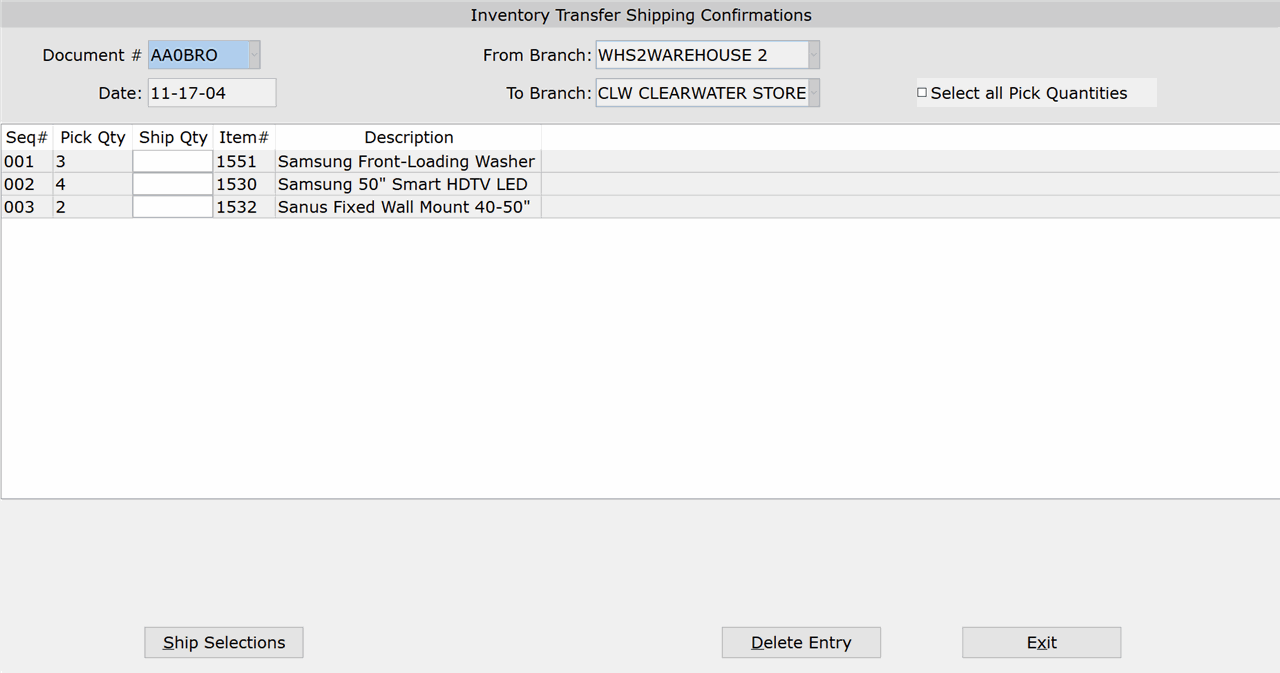
- Make any necessary changes to the transfer or click ‘Exit’ to leave the selection. Before you can print the Packing Sheets (03-11-12), you will need to reconfirm the transfer using the steps described in the ‘Confirming an Entire Transfer’ or ‘Confirming a Partial Transfer’ tutorials.


